Delete Meeting Materials
SROs can remove items from the list of meeting materials using the Manage Materials screen.
IMPORTANT: When modifying files associated with an existing Meeting Materials ZIP, be sure to notify Reviewers who may have downloaded an obsolete ZIP file to download the updated version.
To remove an item:
- Select the check box for the item(s) to delete.
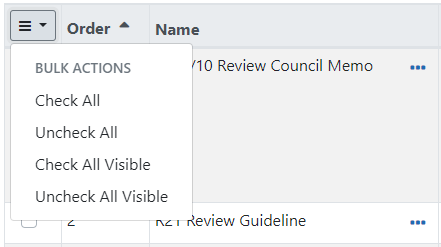
TIP: Use the
 Bulk Actions icon above the first item to select or deselect items at once. For more information, see Navigating and Using the UI in eRA Modules.
 -
Check All - selects all the materials regardless of the number of pages
-
Uncheck All – unselects any and all selected materials
-
Check All Visible – selects all the materials currently displayed in the table, leaving the other pages unchanged
-
Uncheck All Visible - unselects all the materials currently displayed in the table, leaving the other pages unchanged
-
Click the
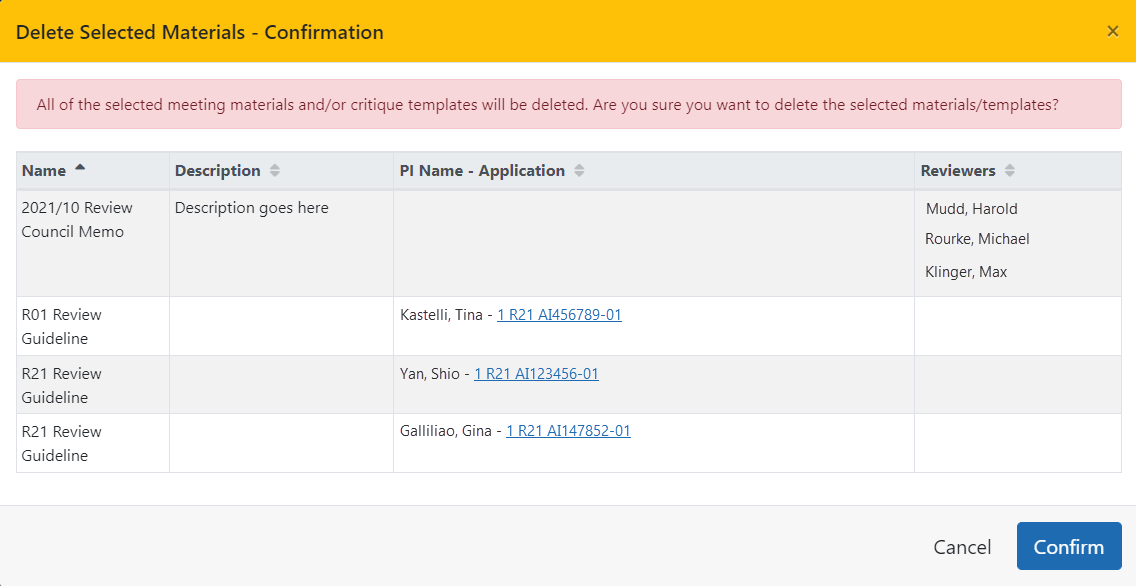
 Delete Selected Materials button.
 The Delete Materials screen opens and lists the item names and descriptions to be deleted.
-
Select the
 Confirm button to confirm the deletion or select the Cancel button to close this screen without removing the items.
The Manage Materials screen updates to show the selected items were removed.
NOTE: Removing items from meeting materials list may cause the numbering to be out of sequence. Correct this with the Resequence link on the Order List of Meeting Materials screen. Refer to Order List of Meeting Materials.
In tables, you can filter, show and hide columns, download/print data, choose display options, and more. For information on table tools below, see .


