Accessing a Multi-Project or Single-Project with Complicated Structure RPPR for Editing
A multi-project RPPR is a progress report submitted for a funded program (activity code) which has multiple, interrelated components sharing a common focus or objective.
Agency-Specific Instructions: Department of Commerce (DOC). This topic does not apply to DOC award RPPRs.
A component (for the purposes of applications and progress reports) is a distinct, reviewable part of the multi-project application or progress report for which there is a business need to gather detailed information identified in the funding opportunity announcement (FOA).
Components typically include general information (component organization, project periods, project title, etc.), performance sites, personnel, and budget. The FOA defines the construction and naming convention for the application; the funded application defines the construction and naming convention for the progress report.
When you access the RPPR for a multi-project award, you can select awarded components rather than manually adding them.
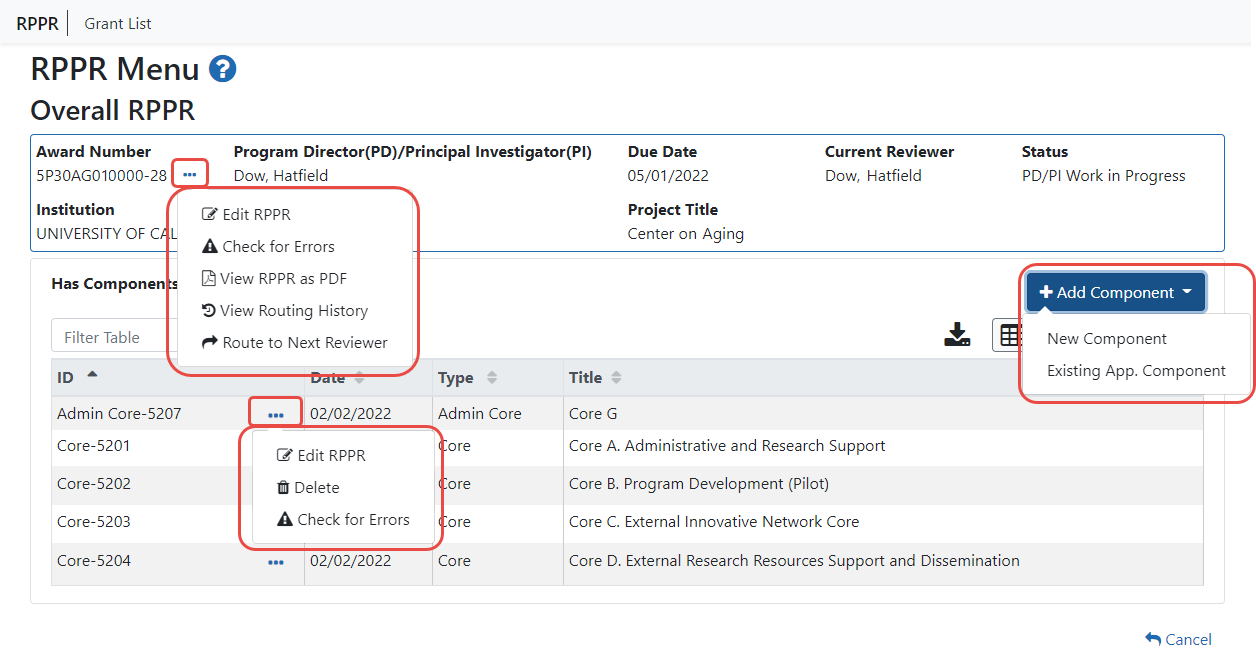
For multi-project awards, the ![]() RPPR Menu screen displays the following screen:
RPPR Menu screen displays the following screen:
Overall RPPR
Below the Overall RPPR is a table of components that belong to the Overall component.
The RPPR Menu for a multi-project RPPR without components does not include the component table. Additionally, the No radio button on the Has components? field is selected and disabled.
To edit the RPPR for the Overall component, click the three-dot ellipsis icon next to Award Number for Overall and select Edit RPPR.
If the award has individual components (e.g., a multi-project award), each component must be reported in the RPPR. To add components if none are displayed, select the Yes radio button next to the question Has components?
NOTE: Any individual components previously added will already be displayed in a table. In this scenario, the Has components? option is disabled. This includes components which were part of a previously submitted progress report for the grant.
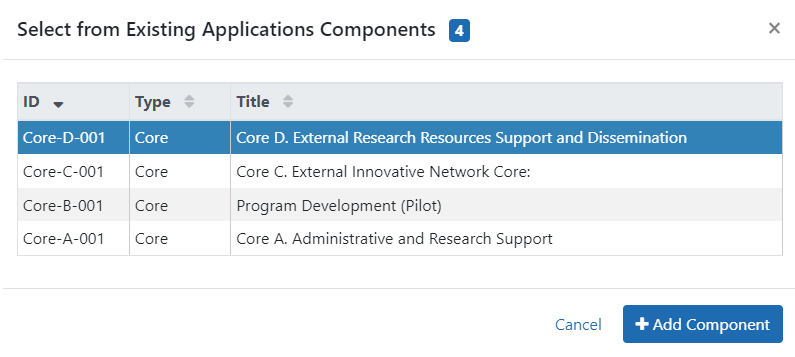
There are two ways to add a component for multi-component grants: you can select components from a list of existing components, or add a new component manually. The list of components is pulled from the beginning of the segment award of the last completing application that was awarded, plus whatever was entered manually prior.
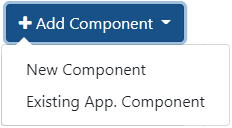
To add components from a list, click the Add Component button and select Existing App. Component.

- Click the Select from existing App Components button.

- Select the component you want to add and click the Add Component button.
- To edit the RPPR of the component you added, click its three-dot ellipsis icon and select Edit RPPR.
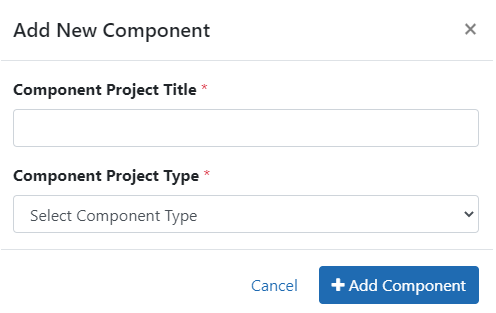
To add an individual component manually, click the Add Component button and select New Component.

- Enter the Component Project Title.
- Select the correct option from the Component Project Type drop-down list.
- Click the Add Component button.Components you add appear in the table of components.
- To edit the RPPR of the component you added, click its three-dot ellipsis icon and select Edit RPPR.
Refer to Editing the RPPR Forms for more information on editing the RPPR forms.
To remove a component from the table of components:
- For the component you want to remove, click its three-dot ellipsis icon and select Delete.
You can delete added components, but you cannot delete the Overall component.
IMPORTANT: If you choose to delete a component, all data related to this component – including all budget data – will be lost. This data cannot be recovered once it has been deleted.
To check for RPPR errors on either the Overall component or an individual component, click its three-dot ellipsis icon and select Check for Errors. Errors will be displayed at the top of the screen.

