Edit Overall Component Forms
The forms of the Overall component may be edited when the component status is Work in Progress. The following lists the basic steps for navigating and enabling forms for editing. Before starting to enter data on a form, the user should be prepared to enter data marked with an asterisk (*). These data elements are required to save the form.
To edit component forms:
- Select the Return to Application Info button on the Actions panel to return to the Application Information page.
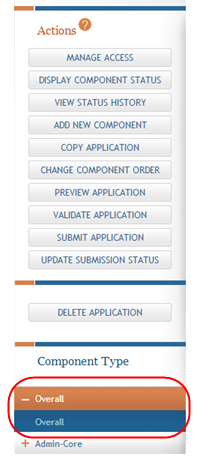
- From the Application Information page expand the Overall component from the Component Type section.
-
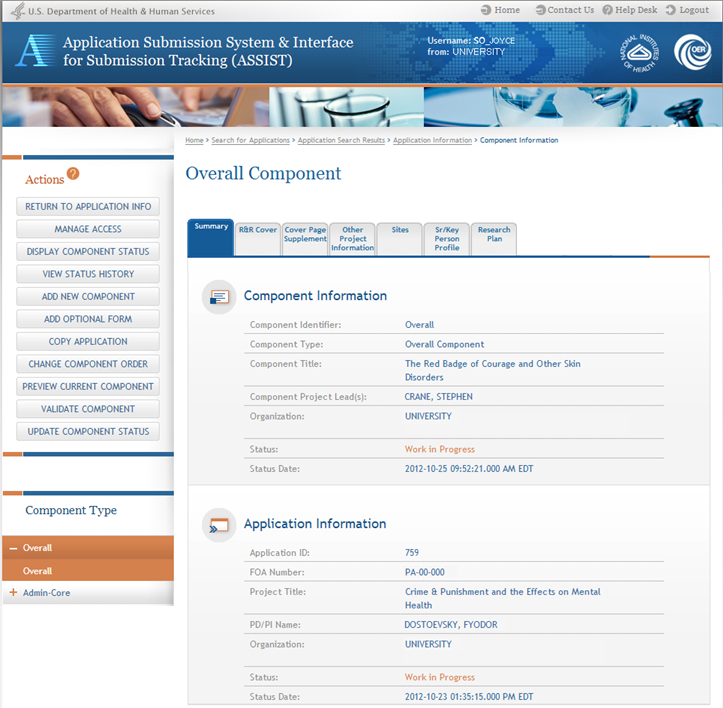
 The Component Information page displays for the Overall component.
-
Select the tab for the appropriate form.
- Select the Edit button at the top of the form to open the fields for editing. Selecting this button reserves the form, enables it for editing, and prevents others from editing it simultaneously.
- For forms with grouped sections, all editable data fields are expanded by default, as shown by the selected Expand All checkbox. Unselect the checkbox to collapse the fields on the form.
-
Complete the forms as necessary, paying attention to the validation warnings. These validations exist to ensure that the proper and required information is entered correctly. Refer to the help topic titled Form and Field Level Validations for more information.
For assistance with the information required on this form, please refer to the appropriate Application Guide.
- General
- SBIR/STTR
Refer to the help topic titled Overall Component for help with ASSIST (e.g., navigating the forms, entering data into form fields, etc.).
- Select one of the save options at the bottom of the form to save the data:
- To save the information and keep the form open for further editing, select the Save and Keep Lock button.
- To save the information and close the form, select the Save and Release Lock button.
- For multi-page forms only: To save the data on the current page of the form and to display a new page for entry, select the Save and Add button. The Save and Add button is not available on all forms.
- Navigate to and complete the other forms by selecting the corresponding tabs and following the same steps.
- When unsaved data exists: When navigating from tab to tab without saving the data, a warning message displays as follows:
- Select the Go Back button to return to the unsaved form.
- Select the button for a save option at the bottom of the form.
- Navigate to the next form.
- Select the Continue button to move to the selected form without saving the changes entered onto the current form.
- Complete the new form as appropriate.
- Repeat steps for navigating to other forms.

NOTE: Individual fields can be expanded (when applicable) by selecting the down arrow on the right side of the field and collapsed by selecting the up arrow.
NOTE: Selecting the Cancel and Release Lock button - followed by the Continue button on the confirmation - returns the form to read-only and does not save any of the entered information onto the form.
Exiting without saving will result in losing the data entered. Do you wish to save before exiting?
-OR-
For security reasons, ASSIST employs a session time-out feature which logs you out of ASSIST when the system determines that there has been no activity for a specific amount of time. Before doing so, ASSIST displays a warning message indicating the remaining amount of time until the automatic logout occurs. To prevent the automatic time-out, select the Continue Working button from the warning screen.
